脚本1
改自 官方脚本
https://wiki.mikrotik.com/wiki/Manual:PCC
1 | |
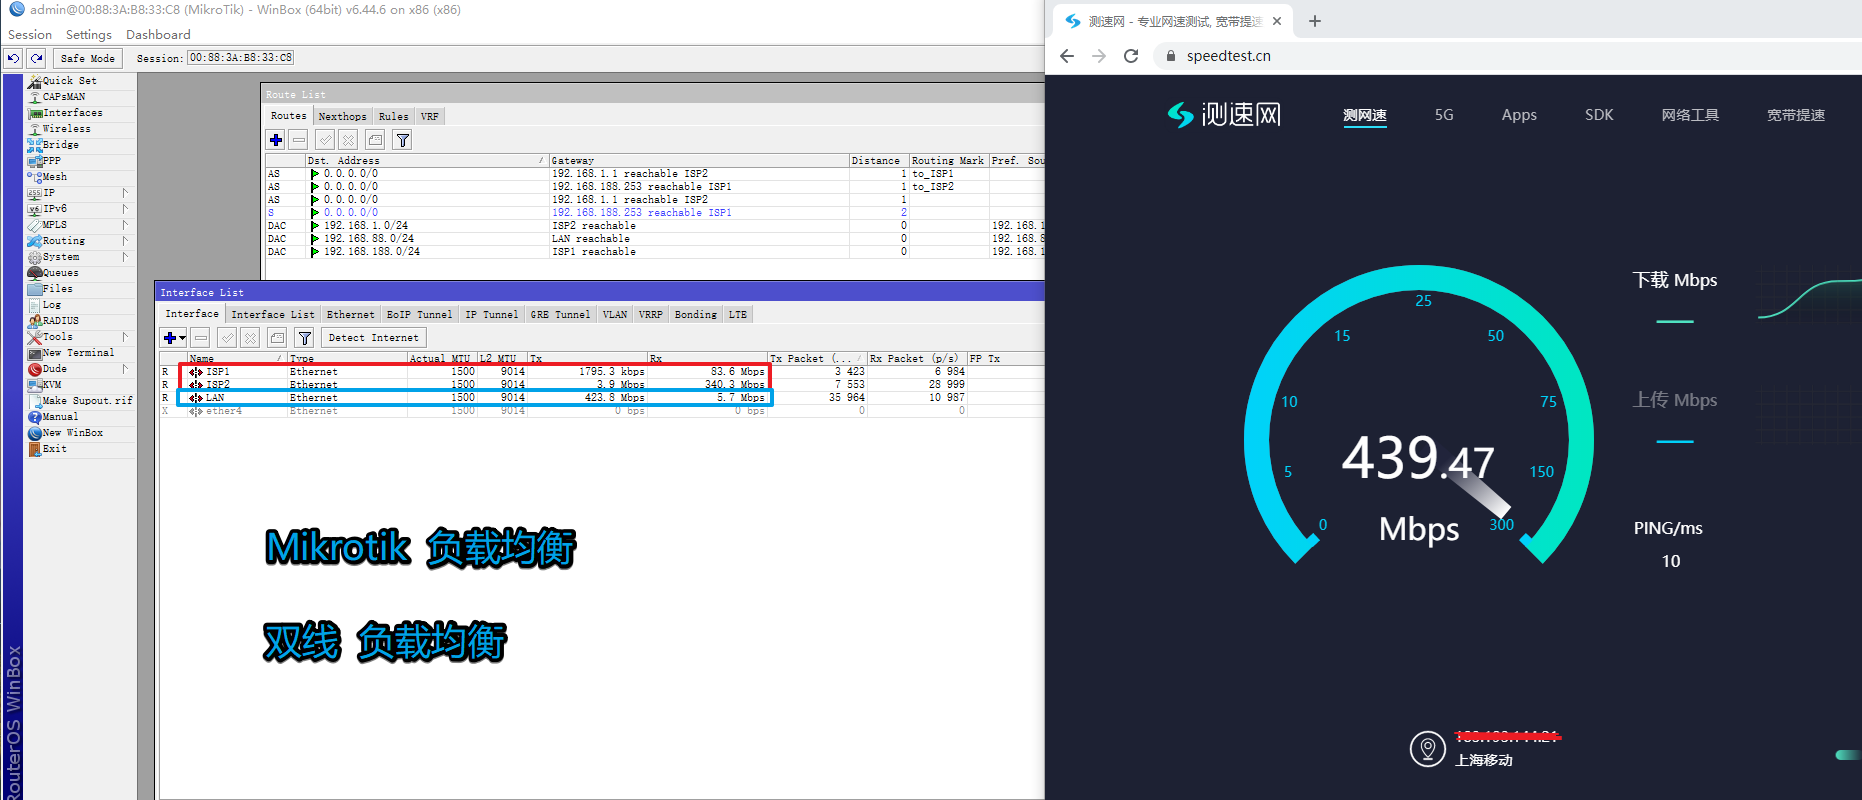
多线负载测试:
PCC 掉线检测 参数切换 脚本(在线方式: 基于ping 远程主机IP)1
2
3
4
5
6
7
8
9
10
11
12
13
14
15
16
17
18
19
20
21
22
23
24
25
26
27
28
29
30
31
32
33
34
35
36
37
38
39
40
41
42
43
44
45
46
47
48
49
50
51
52
53
54
55
56
57
58
59
60
61
62
63
64
65
66
67
68
69
70
71版本1
#################################################################
{
:local str {"ISP1"; "ISP2"};
:local GatewayNum [:len $str];
:local GatewayOnline 0;
:local GatewayIndex 0;
:local NameServer 180.76.76.76;
# get online
foreach i in=$str do={
if ([/ping $NameServer interface=$i interval=1 count=2] != 0) do={
set $GatewayOnline ($GatewayOnline+1);
}
}
#disable or enable
foreach i in=$str do={
if ([/ping $NameServer interface=$i interval=1 count=2] = 0) do={
#offline --> disable
/ip firewall mangle set [find new-connection-mark=($i."_conn")] disable=yes
/ip firewall mangle set [find new-routing-mark=("to_".$i)] disable=yes
} else={
#online --> enable
/ip firewall mangle set [find new-connection-mark=($i."_conn") per-connection-classifier~("both-addresses")] per-connection-classifier=("both-addresses:".$GatewayOnline."/".$GatewayIndex) disable=no
/ip firewall mangle set [find new-connection-mark=($i."_conn")] disable=no
/ip firewall mangle set [find new-routing-mark=("to_".$i)] disable=no
set $GatewayIndex ($GatewayIndex+1);
}
}
}
#################################################################
版本2. 避免频繁修改PCC参数.
#################################################################
{
:local str {"ISP1"; "ISP2"};
:local GatewayNum [:len $str];
:local GatewayOnline 0;
:local GatewayIndex 0;
:local NameServer 180.76.76.76;
# get online
foreach i in=$str do={
if ([/ping $NameServer interface=$i interval=1 count=2] != 0) do={
set $GatewayOnline ($GatewayOnline+1);
}
}
# good checking
if ($GatewayNum=$GatewayOnline && [:len [/ip firewall mangle find disabled=no per-connection-classifier~"both-addresses"]]=$GatewayNum) do={
:return 0
}
#disable or enable
foreach i in=$str do={
if ([/ping $NameServer interface=$i interval=1 count=2] = 0) do={
#offline --> disable
/ip firewall mangle set [find new-connection-mark=($i."_conn")] disable=yes
/ip firewall mangle set [find new-routing-mark=("to_".$i)] disable=yes
} else={
#online --> enable
/ip firewall mangle set [find new-connection-mark=($i."_conn") per-connection-classifier~("both-addresses")] per-connection-classifier=("both-addresses:".$GatewayOnline."/".$GatewayIndex) disable=no
/ip firewall mangle set [find new-connection-mark=($i."_conn")] disable=no
/ip firewall mangle set [find new-routing-mark=("to_".$i)] disable=no
set $GatewayIndex ($GatewayIndex+1);
}
}
}
#################################################################
添加自动执行脚本:
30 秒检查一次
点击:system -> scheduler -> add -> interval=30s name=PCC_check
内容: 粘贴进来
掉线测试方法(严谨法):
ISP1 –> 光纤 –> 光猫1(DHCP) –> 交换机1 –> mikrotik_ISP1(网口 通过DHCP获取ip地址)
ISP2 –> 光纤 –> 光猫2(DHCP) –> 交换机2 –> mikrotik_ISP2(网口 通过DHCP获取ip地址)
为什么中间引入交换机?
为了方便制造网路断开, 直接拔光纤不太合适。光纤插口太脆弱,不折腾(因为光纤断了我不会熔接)。
所以要把从光猫 到 mikrotik的网口 线路断开。
直接拔网线从光猫接到mikrotik的网口不可以吗,中间引入交换机岂不是多此一举?
中间引入交换机是为了保持链路link信号, 让mikrotik以为网口一致存在, 不要让网卡down掉。
如果网卡down掉, mikrotik会触发其他机制, 影响评测.
测试用例1:
只拔掉 光猫1(DHCP) –> 交换机1 的网线,执行脚本, PC机执行网速测试。
预期: ISP1失活,跑满ISP2的带宽。
测试用例2:
只拔掉 光猫2(DHCP) –> 交换机2 的网线, 执行脚本, PC机执行网速测试。
预期: ISP2失活,跑满ISP1的带宽。
测试用例3:
拔掉 光猫1(DHCP) –> 交换机1 的网线,执行脚本, PC机执行网速测试。
拔掉 光猫2(DHCP) –> 交换机2 的网线,执行脚本, PC机执行网速测试。
预期:ISP1失活, ISP2失活. 无法通信。
测试用例1:
恢复 光猫1(DHCP) –> 交换机1 的网线,执行脚本, PC机执行网速测试。
恢复 光猫1(DHCP) –> 交换机1 的网线,执行脚本, PC机执行网速测试。
预期:ISP1激活, ISP2激活. 带宽叠加。
